Honda Fit: Fuel Tank Replacement
-
Drain the fuel tank until it is less than half full.
-
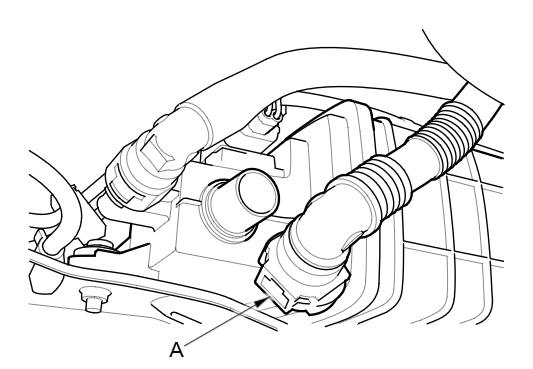
Reinstall the fuel tank unit without connecting the fuel tank unit 4P connector and the quick-connect fitting (feed line).
-
Raise the vehicle on a lift.
-
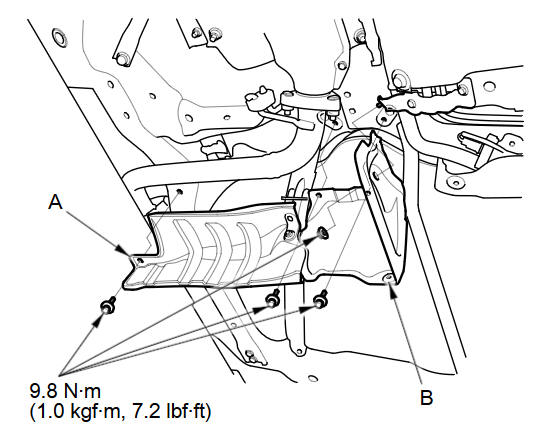
Remove the fuel tank guard (A), and the fuel tank protector (B).
-
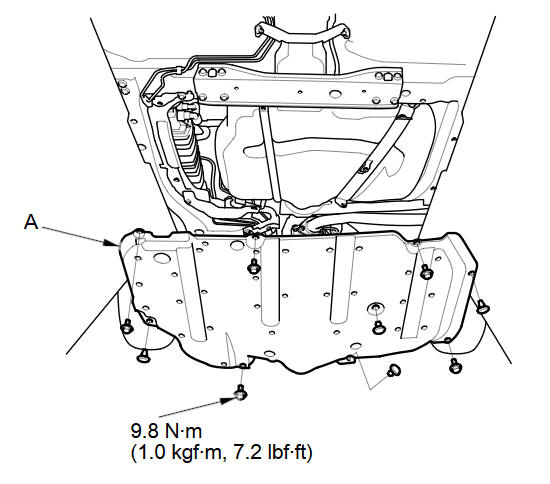
Except LX (A/T model): Remove the fuel tank cover (A).
-
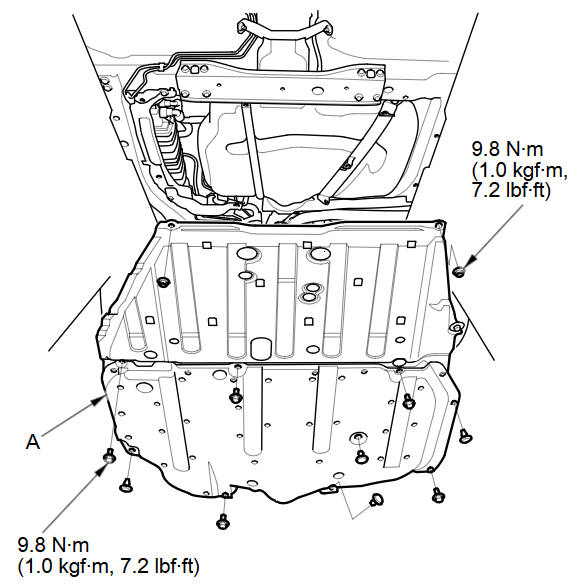
LX (A/T model): Remove the floor under cover assembly (A).
-
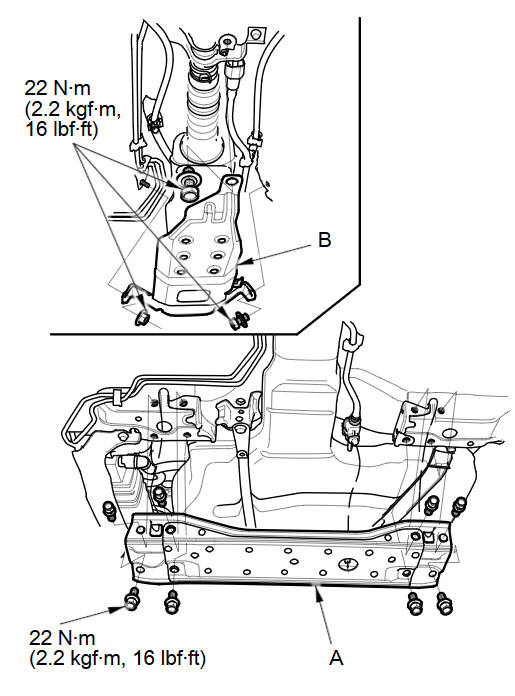
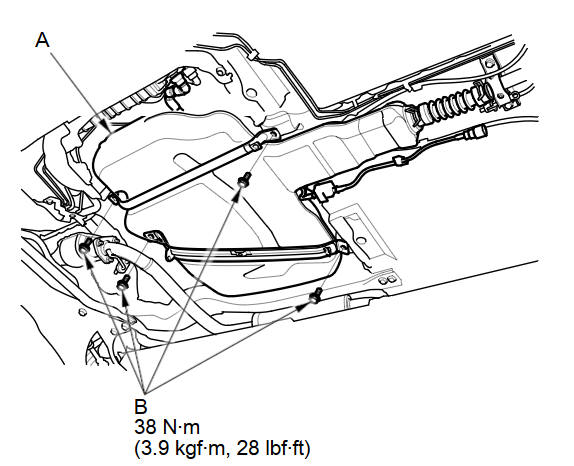
Remove the front floor cross beam (A), and the tank mount bracket (B).
-
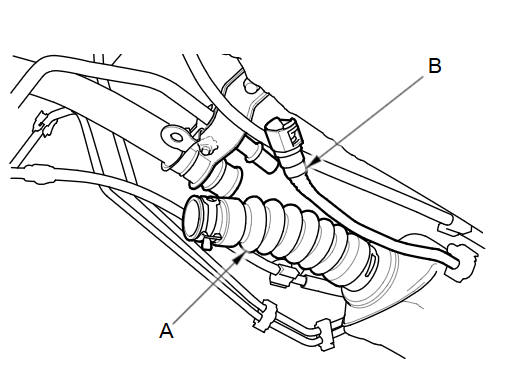
Disconnect the fuel fill hose (A), and the quick-connect fitting (fuel suction tube) (B).
-
Disconnect the fuel tank vapor control valve hose (A).
-
Place a jack or other support under the fuel tank (A), then remove the strap bolts (B).
-
Remove the fuel tank.
-
Install the parts in the reverse order of removal.
NOTE: When you replacing the fuel tank with a new one, make sure you remove the ring pull upwards after you confirm the connection is secure.
See also:
Audio Screen Control
AUDIO button (in DISC mode)
Control the audio system through the navigation screen.
Select a track.
► Select the Folder tab to display the
list of folders on M/WMA/AAC
discs having a f ...
Engine Number
@font-face{font-family:
"Honda_SymbolMarkeng";src:url(/statics/ho_prod_2/txt/Honda_SymbolMark_enu3.txt);}@font-face{font-family:
"Honda_Sp ...
Engine Compression Inspection
NOTE: After the inspection, you must reset the ECM/PCM. Otherwise, the
ECM/PCM will continue to stop the injectors from operating.
Allow the engine to reach operating temperature (fan comes o ...
Categories
